Thursday 26 August 2010

Sausage rolls and cheesy pastry bites

There are a couple more weeks of the summer holidays left, even though it's already feeling quite autumnal. If you're stuck at home wondering what to do with the children (particularly if it's pouring down with rain), try these delicious sausage rolls.

All you need is a pack of puff pastry (you might have one in the freezer) and some good quality sausages. About 400–500g of each. On a floured surface, roll out the pastry to a thickness of about 5mm. I try to form a large rectangle that can then be cut into two smaller rectangles.

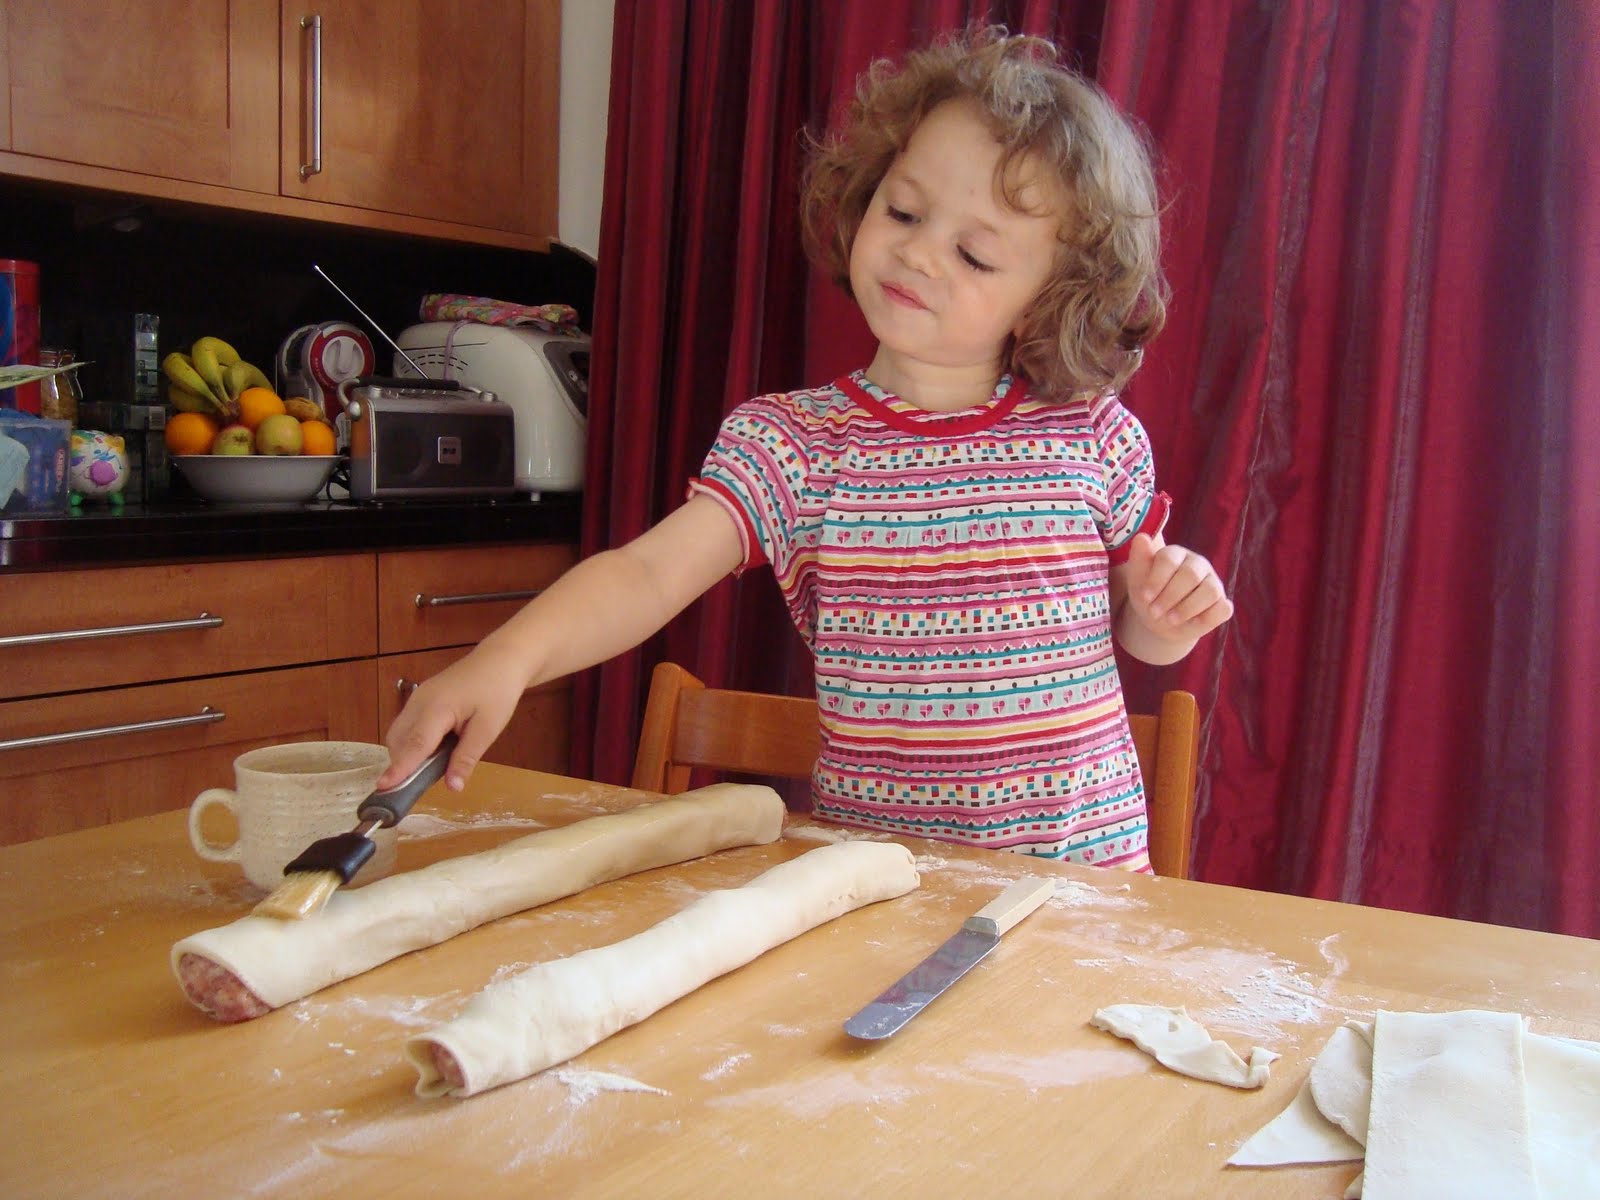
Using kitchen scissors, snip open the sausages and release the meat into a bowl. Fork it through to soften it. Divide the meat in half and form two long rolls, the length of your sheets of pastry. Place each roll of meat onto the pastry. Wrap the pastry around the meat and seal with beaten egg. (You'll probably need to trim pastry off the sides to do avoid too much of an overlap.) Turn over each long roll and make sure the seam is on the underside. (As I was a bit concerned about the raw meat, only at this point did Alice start helping.)


Glaze the rolls liberally with beaten egg and slice each into 10 or 12 small pieces. Arrange the sausage rolls on two greased baking trays and snip the top of each a couple of times.


In an oven preheated to 200°C/gas mark 6, bake for 25 minutes until golden brown.


Cheesy pastry bites

This is a way of using up the left-over puff pastry: glaze with remaining beaten and generously sprinkle with grated cheddar cheese (a lot ended up being eaten). Arrange on a greased baking sheet and bake at 200°C/gas mark 6 for about 10 minutes until bubbling and golden. Remove from the oven and cut into pieces with the scissors.


Thursday 27 May 2010

Butter cut-out biscuits

Now that Alice has turned into quite a social butterfly, when she has friends round to play, it's handy having some recipes that might keep them amused and provide them with some goodies to take home. One such recipe is Nigella Lawson's butter cut-out biscuits from How to be a Domestic Goddess – also perfect for birthday parties and makes lovely Christmas decorations (using festive cutters). It makes a huge batch of about 60 so, as Nigella suggests, I've tucked the other half of the dough away in the freezer for a future playdate. (I haven't included any pictures of the dough being made, just of girls cutting out biscuits and then enjoying them.)

Butter cut-out biscuits

175g soft unsalted butter
200g caster sugar
2 large eggs
1 teaspoon vanilla extract
400g plain flour
1 teaspoon baking powder
1 teaspoon salt

Preheat the oven to 180°C/gas mark 4. Line two baking sheets with greaseproof paper.

Cream together the butter and sugar until pale and slightly moussy. Beat in the eggs and vanilla. In another bowl, combine the flour, baking powder and salt. Add these dry ingredients to the creamed/wet mixture and gently stir through until well combined. If the mixture is too sticky to roll out, add a small amount of flour. Halve the dough, form into flattish disks, wrap in clingfilm and leave to rest in the fridge for an hour or so.

Sprinkle a suitable clean surface with flour, place a disk of dough on it and sprinkle more flour over the dough. Roll out to a thickness of about 5mm and cut into shapes. It might help to keep dipping the cutter in flour as you go. Place the biscuits a little apart on the prepared baking sheets.

Bake for 8–12 minutes until they are lightly golden around the edges. Cool and continue until you have used all the dough.


Once the biscuits are fully cool, you can ice them. We didn't have time to do this, but I'd be very happy to let them continue amusing themselves (and get into a right sticky mess). To make the icing: put two tablespoons almost boiling water into a bowl, add 300g sieved icing sugar and mix together to form a thick paste, adding more water if necessary. Colour as desired and spread over the biscuits.

Monday 29 March 2010

Easy Easter traybake


At the weekend Alice and I rustled up some little Easter cakes by way of an all-in-one traybake recipe based on one from the very trustworthy Mary Berry's Ultimate Cake Book. This is a great recipe to use for children's parties or school bake days as it's quick to mix together and doesn't require fiddly little cases or having to ice the cakes individually.

On the grown-up drinks front, a cup of Darjeeling would be lovely, as would a glass of grapey, scented Moscato d'Asti – ideal for daytime drinking with its low alcohol content.

Basic all-in-one sponge traybake

350g butter, softened
350g caster sugar
450g self-raising flour
3 teaspoons baking powder
6 eggs
6 tablespoons milk

For icing and decoration
2 tablespoons apricot jam
240g icing sugar, sifted
120g unsalted butter, softened
1 teaspoon vanilla extract
chocolate mini eggs

Makes about 36 small cake portions.

Pre-heat oven to 180°C. Line and grease a large roasting tin: kitchen foil is ideal. I used a Mermaid roasting pan 368 x 267 x 70cm.

Measure all the cake ingredients into a large mixing bowl and, using a hand whisk, beat together thoroughly until you have a pale, creamy mixture.


Turn the mixture into the prepared tin and level the top.

Bake for 40 to 45 minutes or until the cake is golden brown and has shrunk back from the sides of the tin. It should also spring back when pressed in the centre with your finger.

Leave the cake to cool in the tin before you turn it out onto a cooling rack. In a small saucepan melt the apricot jam, allow to cool and carefully brush over the surface of the cake.

Make the icing: in a large mixing bowl and using the hand whisk, beat together the butter and icing sugar until pale and soft (covering the bowl with a dishcloth stops the icing sugar from escaping in a big cloud and settling all over your kitchen). Add the vanilla extract and beat well. Spead the icing over the cake, taking it right to the edges.

Using a bread knife, carefully cut the cake into small squares about 5cm in size. You can remove the edges of the cake first for a more tidy appearance before spreading on the icing, but we didn't bother. Decorate each square with a mini egg.

The 'cakes' are going down well but, as usual, the decoration and icing get eaten first and not a lot of cake. Happy Easter!


Friday 26 February 2010

Brownie bites


Yesterday Alice helped me make some little brownie 'bites' that I planned to bag up as something that could be sold at a coffee morning at her nursery. As brownies are quite easy to make (you're basically mixing together a sloppy batter) they're a great choice when cooking with children – and, of course, children love them!

This recipe is based on Nigella Lawson's from How to be a Domestic Goddess that I tweaked to make it more shallow and easier to cut into small cubes. You can include 200g roughly chopped walnuts (or hazelnuts or brazil nuts which I love), but I didn't here as nursery schools get a bit paranoid about all things nutty.

247g soft unsalted butter
247g best-quality dark chocolate (here I used Green & Blacks 70%)
4 large eggs
1 tablespoon vanilla extract
330g caster sugar
148g plain flour
1 teaspoon salt

Preheat the oven to 180°C/gas mark 4. Line the baking pan and take it right up the sides – using kitchen foil makes this very easy.

In a large, heavy-based saucepan, slowly melt together the butter and chocolate, giving it a stir towards the end. Meanwhile, in a bowl or large measuring jug, beat the eggs, sugar and vanilla essence.


In a separate bowl, measure the flour and salt (and nuts if using). Once the chocolate-butter mixture has cooled down a little, mix in the eggs and sugar, followed by the dry ingredients and beat well until you have a thick, glossy, dark brown batter.


Pour the batter into the prepared baking pan and bake for about 25 minutes until a cocktail stick comes out cleanish. It's better to remove it from the oven sooner, rather than later to prevent it from being too dry. It's easy to overcook as it continues cooking for a while away from the heat.


Allow it to cool in the tin before turning out and cutting into cubes or squares. We ended up with about 50 small cubes (about 4cm square), and here are Alice and Daddy enjoying some of the trimmings from around the edge.


Saturday 9 January 2010

Chocolate orange cake

We've had more extreme weather so we've been doing some more baking (you'll see the snow in the background of  some of the pics). This time it was chocolate orange cake – one of my favourites – from Nigella Lawson's Feast (an adaptation of the clementine cake from How to Cook which, in turn, is an Italian recipe from Anna del Conte I believe). It's a doddle to make and an easy option with a youngster, although probably a bit too adult for their taste due to its plain appearance and lack of obvious sweetness. It's great to serve plain or with some crème fraïche or Greek yoghurt. At my mother's 60th birthday dinner party we had it with whipped cream flavoured with a generous splash of Grand Marnier. Yummy!

whole oranges approx 375g total weight
6 eggs, beaten
1 heaped teaspoon baking powder
half a teaspoon bicarbonate of soda (I used baking powder instead)
200g ground almonds
250g caster sugar
50g cocoa

Firstly, cook the whole oranges in a saucepan with water until soft (this takes a couple of hours). Drain, remove any large pips and, with a hand blender, liquidise the whole lot (pith, peel etc) to make a purée. Grease and line a 20cm springform tin. Preheat the oven to 180°C/Gas Mark 4.


Put the cooled fruit purée in a large mixing bowl and add the rest of the ingredients. I place the bowl on some flat, digital scales which simplifies things.


With a wooden spoon, mix everything together thoroughly until you have a thick, glossy batter.


Pour the batter into the prepared tin and level it off. Bake for about an hour (check after 45 minutes) until a skewer comes out clean. If you have a particularly hot (or fan) oven, after you've checked it, it's worth covering the cake with foil to stop it burning.


Leave it to cool in the tin before turning it out onto a cooling rack. We leave the cake on a plate in the fridge, covered in foil, where it keeps brilliantly for a week or so, staying beautifully moist.


I think Alice was being polite about tasting the cake. She had a mouthful without grimacing, but seemed to prefer her Petit Filou.

Tuesday 5 January 2010

Gingerbread people for a freezing cold day


Alice was due to return to nursery today, but this has been put on hold by a nasty cough and cold so, to help keep ourselves warm on this perishing day, we did a bit of baking. Using an easy recipe taken from my trusted Mary Berry's Ultimate Cake Book, I managed to keep our young lady amused for a while.

350g plain flour
1 teaspoon bicarbonate of soda (I used baking powder instead as I'm out of bicarb)
2 teaspoons ground ginger
100g margarine (I used butter)
175g light muscovado sugar
4 tablespoons golden syrup
1 egg, beaten

Pre-heat the oven to 190°C/Gas Mark 5 and lightly grease a couple of large baking trays.

Alice helped me measure out the flour, baking powder and ginger into a large bowl. Once I added the butter, roughly chopped, she and I rubbed it into the dry ingredients which she enjoyed as it was "a bit messy". Alice then stirred in the sugar. As I spooned in the golden syrup she kept asking to taste it as it slowly drizzled into the bowl. The beaten egg went in after this and I took over for a while, stirring everything together, before we both kneaded the dough. As this recipe makes quite a large quantity, half the dough was put in the freezer for another time. On the floured table we then rolled out the dough  to a thickness of about 5mm and Alice cut out the men, while I worked on the women (we have two cutters). She was starting to lose interest by this point but, as they only needed 10–12 minutes in the oven, she was soon fired up to see (and taste) the end results.

The gingerbread biscuits were a big hit – with a nice balance of mellow spice and sweetness. The only problem is that, unless you remove them quickly from the baking tray, they soon harden up and some will end up decapitated. You can see from the picture that we made a large batch using only half the dough (but our cutters are smallish at about 8cm long).